 Pin It
 My neighbor knocked on the door one Saturday holding an empty Tupperware and asking if I had anything chocolate. Her kids had friends coming over in an hour. I pulled this cake together while she made tea, and by the time it cooled, her kitchen smelled like a bakery. She never returned the container, but she still asks for the recipe every few months.
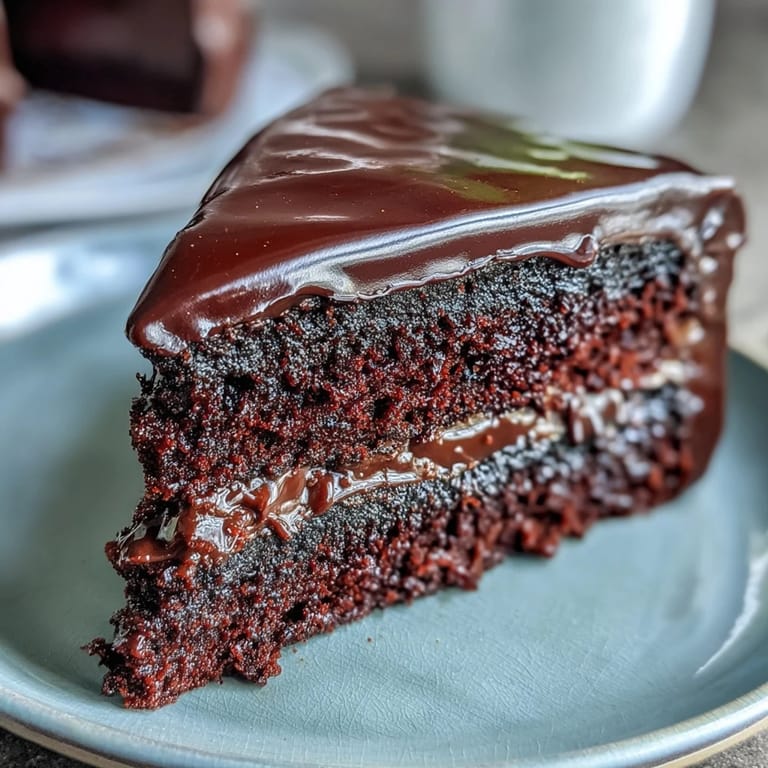
I made this for my son's tenth birthday after he announced he hated buttercream. He wanted something dark, rich, and not too sweet. When I set it on the table, still warm from the icing, he ran his finger along the edge and declared it the best cake I'd ever made. I didn't tell him it was also the easiest.
Ingredients
- Unsalted butter: Melting it with the chocolate gives the cake a dense, squidgy crumb instead of a fluffy sponge, use it at room temperature for smoother icing.
- Dark chocolate (minimum 50% cocoa solids): This is the backbone of flavor, too high a percentage and it turns bitter, too low and it tastes like cake mix.
- Light brown sugar: Adds a hint of caramel and keeps the crumb soft, white sugar works but the cake will be slightly drier.
- Large eggs: Room temperature eggs blend more easily and give a smoother batter.
- Plain flour: Just enough structure without turning the cake dry, don't swap for self-raising or you'll get a weird rise.
- Baking powder: A small lift without making it cakey, measure carefully or it'll taste metallic.
- Fine sea salt: Balances the sweetness and deepens the chocolate, don't skip it.
- Cocoa powder: Use good quality Dutch-process if you can, it makes the color richer and the flavor rounder.
- Whole milk: Thins the batter just enough to bake evenly, semi-skimmed works but full-fat gives better texture.
- Vanilla extract: Real extract, not essence, it's the difference between depth and artificial sweetness.
- Icing sugar: Sift it or the icing will be gritty, I learned that the hard way at a dinner party.
Tired of Takeout? 🥡
Get 10 meals you can make faster than delivery arrives. Seriously.
One email. No spam. Unsubscribe anytime.
Instructions
- Preheat and Prepare:
- Heat your oven to 180°C (160°C fan) and grease two 20 cm round tins, then line the bases with baking paper. This step matters more than you think, I once skipped the paper and spent twenty minutes prying out cake shards.
- Melt the Chocolate and Butter:
- Set a heatproof bowl over a pan of barely simmering water and melt the butter and chopped chocolate together, stirring now and then until glossy. Let it cool for five minutes so it doesn't scramble the eggs.
- Whisk the Sugar and Eggs:
- In a large bowl, whisk the sugar and eggs together until pale and slightly thickened. It should look like it's doubled in volume and leave a ribbon trail when you lift the whisk.
- Combine Chocolate and Eggs:
- Pour in the melted chocolate mixture and the vanilla, stirring gently until smooth and uniform. Don't overmix or it'll deflate.
- Sift the Dry Ingredients:
- In a separate bowl, sift together the flour, baking powder, salt, and cocoa powder. Sifting aerates the cocoa and prevents lumps that won't dissolve.
- Fold in Dry and Wet:
- Add the dry ingredients in three parts, alternating with splashes of milk, folding gently after each addition. Stop as soon as the batter is smooth, overworking makes it tough.
- Fill and Bake:
- Divide the batter evenly between the tins and bake for 30 to 35 minutes. A skewer should come out with a few moist crumbs clinging, not clean, or it'll be dry.
- Cool the Cakes:
- Let them sit in the tins for ten minutes, then turn out onto a wire rack. Cooling completely before icing is non-negotiable unless you want a melted mess.
- Make the Icing:
- Melt the chocolate and butter together as before, then remove from heat and beat in the sifted icing sugar and milk until glossy. It should be thick but spreadable.
- Assemble and Ice:
- Place one cake on a plate, spread a third of the icing on top, then add the second layer. Cover the top and sides with the remaining icing, smoothing with a palette knife dipped in hot water.
 Pin It
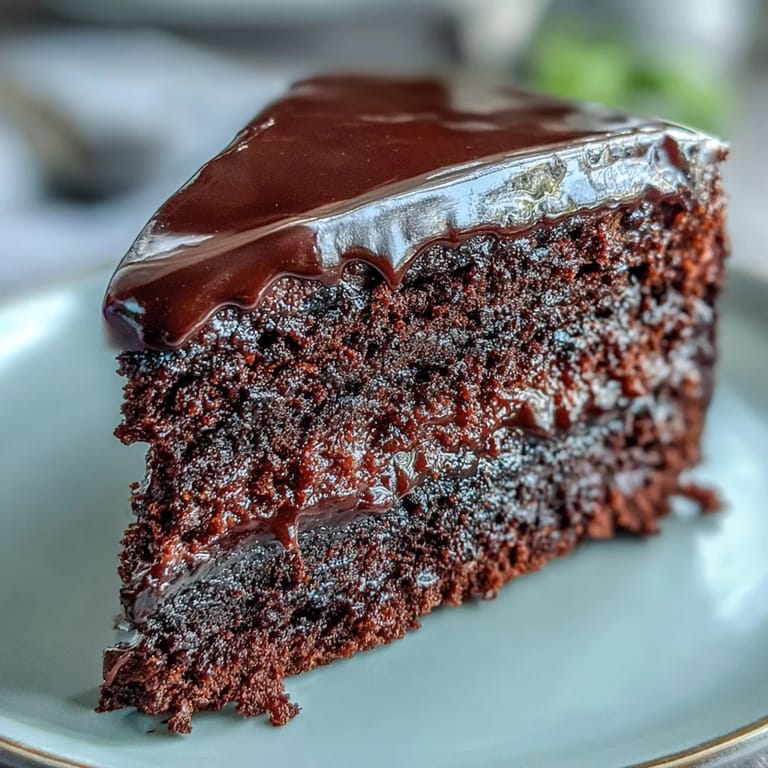
 The first time I brought this to a potluck, someone asked if I'd bought it from a bakery. I said no, just melted some chocolate and hoped for the best. They didn't believe me until I wrote the recipe on a napkin. It's been passed around our street ever since, and I still get texts when someone bakes it for the first time.
Storing and Keeping
This cake sits happily in an airtight container at room temperature for up to three days, and honestly it tastes better on day two when the flavors settle. If your kitchen is warm, store it in the fridge, but bring it back to room temperature before serving or the icing hardens. I've never tried freezing it because it never lasts that long, but I suspect it would work if wrapped tightly in cling film and foil.
Serving Suggestions
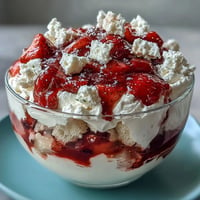
I like to serve this with a big spoonful of lightly whipped cream to cut through the richness, or fresh raspberries if I'm feeling fancy. A friend of mine adds a layer of raspberry jam between the cakes, which turns it into something close to a grown-up version of a childhood birthday cake. If you're serving it at a party, dust the top with a little cocoa powder or scatter some chocolate shavings, it makes it look like you tried much harder than you did.
What to Watch For
The biggest mistake I see people make is opening the oven door too early, which causes the center to sink. Wait until at least 25 minutes have passed before you even peek. Another thing is overwhisking the batter once the flour goes in, it develops the gluten and turns the cake dense in the wrong way. Fold gently and stop as soon as you don't see streaks of flour.
- Use good-quality chocolate, the cheap stuff has a waxy finish that doesn't melt smoothly.
- Line your tins properly or you'll lose half the cake to the bottom of the pan.
- Let the cakes cool completely before icing, warm cake and soft icing equals disaster.
 Pin It
 This is the kind of cake that makes people quiet when they take the first bite. Bake it once and it'll become the chocolate cake you make without thinking, the one everyone asks for by name.
Questions About This Recipe
- → Can I use milk chocolate instead of dark chocolate?
Yes, but dark chocolate with at least 50% cocoa solids provides the best rich, fudgy flavor. Milk chocolate will make it sweeter and less intense.
- → How do I know when the cake is done?
Insert a skewer into the center—it should come out with a few moist crumbs, not wet batter. This ensures a squidgy texture rather than dry cake.
- → Can I make this cake in advance?
Absolutely. The cake keeps well in an airtight container for up to 3 days. You can also freeze unfrosted layers for up to 3 months.
- → What can I add between the cake layers?
Raspberry jam adds a fruity contrast to the rich chocolate. You can also use buttercream, ganache, or whipped cream for variation.
- → Why is my icing too runny or too thick?
Adjust the milk quantity—add more for a thinner consistency or extra icing sugar to thicken. The icing should be smooth and spreadable, not pouring or stiff.
- → Can I bake this as a single layer or in a different tin size?
Yes, use a 23 cm round tin for a single layer, but increase baking time to 40-45 minutes. Check doneness with a skewer.