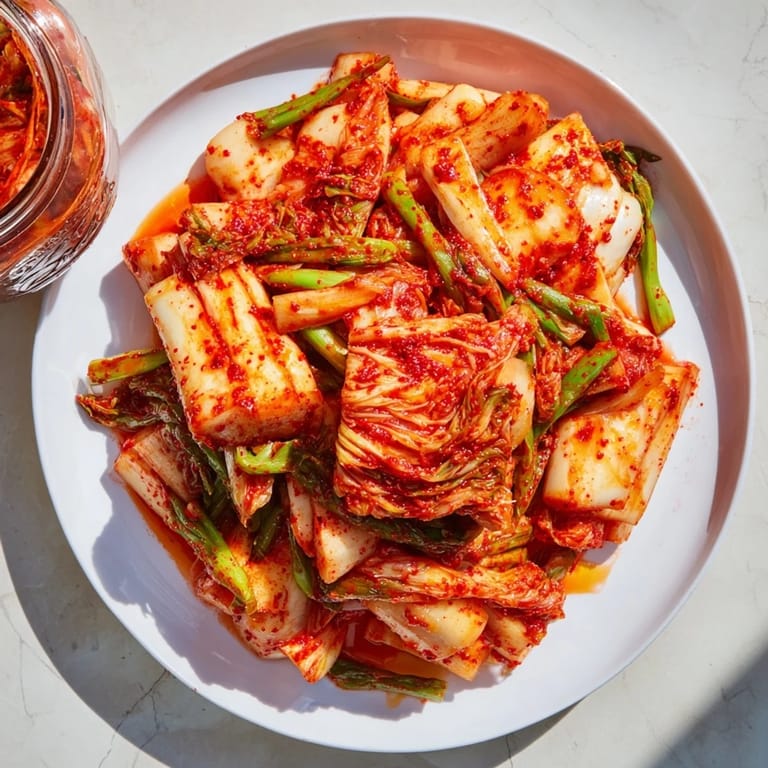
 Pin It
 The first time I made kimchi, my entire apartment smelled like garlic and fermented cabbage for a week. My roommate walked in, took a deep breath, and asked if something had died in the kitchen. By day three, though, we were both eating it straight from the jar with scrambled eggs every morning. Now I can't imagine my fridge without at least two jars fermenting at different stages.
Last winter, during that bleak stretch between holidays when everything feels gray and endless, I decided to teach myself proper kimchi making. My Korean neighbor caught me carrying bags of napa cabbage upstairs and actually knocked on my door later that week to share her grandmother's secret for getting the crunch just right. We ended up drinking tea and comparing fermentation stories while my first batch bubbled away on the counter.
Ingredients
- 1 large napa cabbage: The backbone of traditional kimchi, napa's crinkled leaves catch and hold the spice paste beautifully
- 80 g coarse sea salt: Essential for drawing out moisture and creating the brine that kickstarts fermentation
- 4 scallions: Add a fresh, mild onion flavor that balances the intense garlic and ginger
- 1 medium daikon radish: Provides satisfying crunch and a slightly sweet contrast to the spicy paste
- 6 cloves garlic: Don't be shy here, garlic is non negotiable for authentic kimchi flavor
- 3 tbsp Korean red chili flakes: Gochugaru has a slightly sweet, smoky heat that's completely different from regular chili flakes
- 2 tbsp rice flour: Creates the base for the spice paste, helping it cling to every nook and cranny of the vegetables
Tired of Takeout? 🥡
Get 10 meals you can make faster than delivery arrives. Seriously.
One email. No spam. Unsubscribe anytime.
Instructions
- Salt the cabbage:
- Cut the cabbage into quarters lengthwise, then chop into 2 inch pieces. Dissolve the salt in cold water and submerge the cabbage, weighing it down so it stays under the brine. Let it sit for 2 hours, tossing every 30 minutes to ensure even salting.
- Rinse and drain:
- Give the salted cabbage a thorough rinse under cold water two or three times to remove excess salt, then let it drain well in a colander while you make the paste.
- Prepare the paste base:
- Whisk rice flour with water in a small saucepan over medium heat until it thickens into a smooth paste, about 1 to 2 minutes. Set aside to cool completely this is crucial for preventing your kimchi from turning mushy.
- Blend the spices:
- Combine the cooled rice paste, garlic, ginger, onion, fish sauce or soy sauce, and sugar in a blender. Process until completely smooth, then stir in the gochugaru until you reach your desired spice level.
- Massage and mix:
- Toss the drained cabbage with daikon, carrot, and scallions in a large bowl. Add the spice paste and put on kitchen gloves, then massage everything thoroughly until every piece is evenly coated.
- Pack the jars:
- Press the kimchi tightly into clean glass jars or a fermentation crock, eliminating any air pockets as you go. Leave at least an inch of headspace at the top to allow for expansion.
- Ferment:
- Seal the jars and leave them at room temperature out of direct sunlight for 1 to 2 days. Burp the jars daily to release built up gas.
- Refrigerate and enjoy:
- Taste after 48 hours, and once it's reached your preferred level of sourness and tang, move it to the refrigerator. It will continue developing deeper flavor over several weeks.
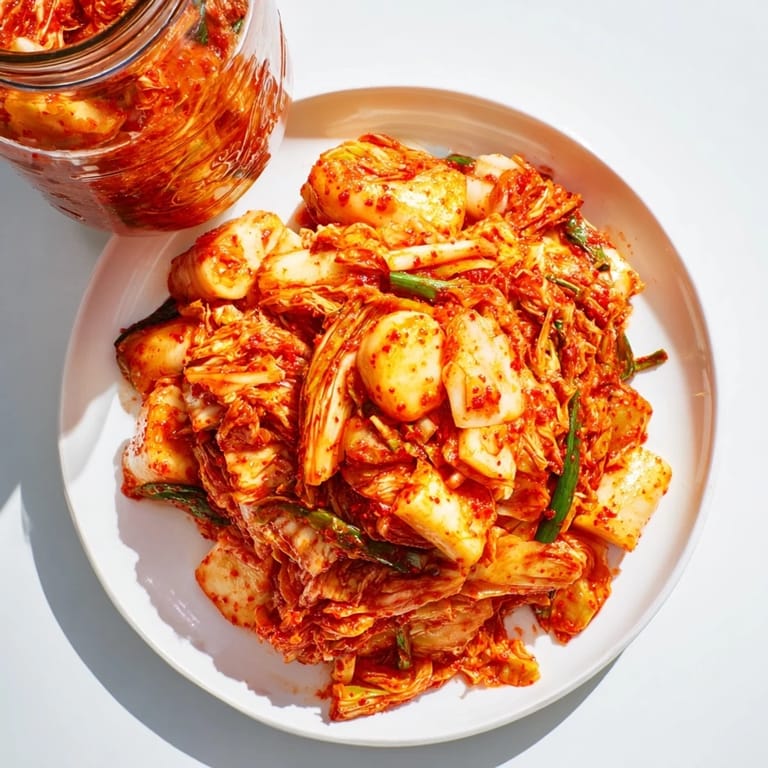 Pin It
 My friend Sarah tried making kimchi once without wearing gloves, and her hands burned for hours afterward. She called me in tears, convinced she'd permanently damaged her skin. We ordered pizza that night and laughed about it, but now she keeps a dedicated pair of bright pink kitchen gloves specifically for kimchi duty. Sometimes the best recipes come with battle stories.
Understanding Fermentation
Fermentation feels almost magical the first time you really pay attention to it. Those jars on your counter are alive, bubbling and transforming with the help of naturally occurring bacteria. I've found myself checking my kimchi like an anxious parent, listening for the faint hiss of escaping gas when I burp the jars. It's a reminder that some of the best things in life just need time and the right conditions.
Serving Ideas Beyond the Side Dish
While kimchi is perfect alongside rice and pretty much any Korean dish, it's also incredibly versatile in unexpected ways. I've developed a habit of chopping it into scrambled eggs, adding it to grilled cheese sandwiches for a spicy kick, and even stirring it into mashed potatoes. The tang and heat cut through rich foods while adding layers of complexity that make simple dishes feel special.
Troubleshooting Your Batch
Every fermentation journey has its hiccups. My first batch turned impossibly salty because I didn't rinse the cabbage thoroughly enough. Then there was the time I fermented too long and ended up with something so sour it made my eyes water. These experiments taught me more than any perfect batch could have. Now I keep notes on every jar, tracking temperature, time, and tweaks like a mad scientist.
- If your kimchi seems too salty, give it an extra day or two of fermentation the sourness will balance the salt
- A white film on top is usually harmless kahm yeast, just skim it off
- Fizzing and bubbling are good signs it means your fermentation is active and healthy
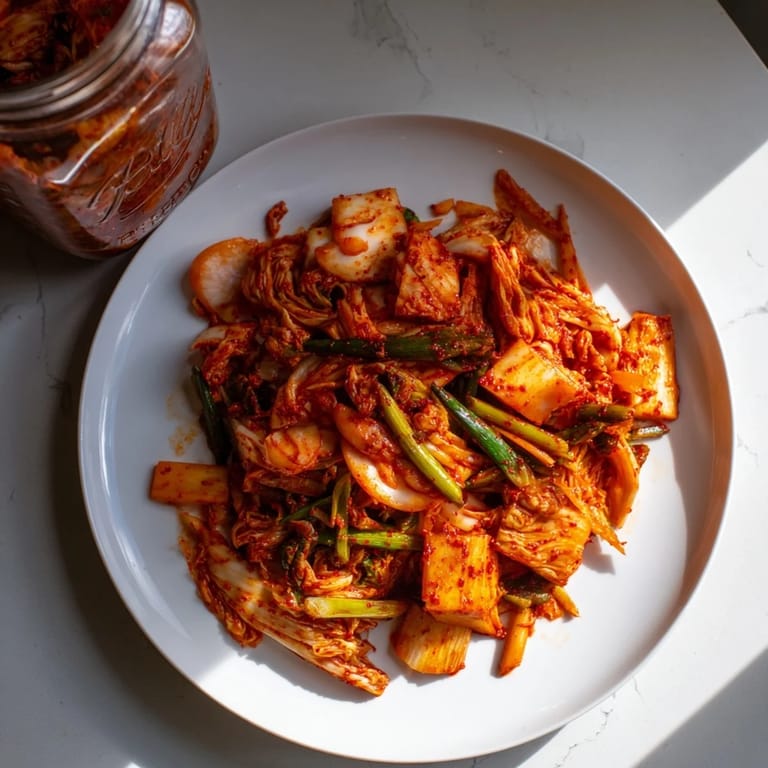 Pin It
 There's something deeply satisfying about opening your refrigerator and seeing those jars lined up, each one at a different stage of becoming. Kimchi taught me that good food doesn't just feed you it connects you to traditions, to patience, and to the invisible world of microscopic organisms doing their quiet work. Now go forth and ferment something wonderful.
Questions About This Recipe
- → How long does kimchi need to ferment?
Kimchi ferments at room temperature for 1-2 days, developing initial tang and gas bubbles. Once it reaches your preferred sourness, transfer to the refrigerator where fermentation continues slowly for weeks, deepening in flavor complexity.
- → Can I make kimchi without fish sauce?
Absolutely. Replace traditional fish sauce with soy sauce or a vegan fish sauce alternative for a completely plant-based version. The umami depth remains excellent while accommodating vegan and vegetarian dietary preferences.
- → Why do I need to salt the cabbage first?
Salting draws out excess moisture from cabbage through osmosis, creating the perfect crisp texture. This step also removes bitterness while preparing vegetables to absorb the bold seasoning paste thoroughly, ensuring even flavor distribution throughout fermentation.
- → What's the purpose of rice flour in the spice paste?
Cooked rice flour acts as a natural thickener and binder, helping the seasoning paste adhere evenly to cabbage leaves. It also provides subtle carbohydrates that beneficial bacteria consume during fermentation, promoting consistent culturing.
- → How do I know when kimchi has gone bad?
Fresh kimchi smells pleasantly sour and tangy with bright red color. Discard if you notice off-putting odors (beyond natural fermentation smell), fuzzy mold, unusual sliminess, or dark color changes. Properly fermented kimchi keeps refrigerated for months.
- → Can I adjust the spice level?
Certainly. Reduce Korean red chili flakes to 3 tablespoons for milder heat, or increase to 5 tablespoons for bold spice. Adding grated apple or pear to the paste naturally balances heat while adding subtle sweetness and fruitiness.